First thing's first. I've lived in my home for nearly six and a half years. I can remember before I ever set foot in the place, when I was looking at photos online, I thought "nice bones, but that place needs new counter tops."
Uh, guess I had to really ease into this. So my kitchen looked like when I moved in in 2008:
And here's what it looks like today after a month of work, many hours of toiling and some cold, hard cash, here's what it looks like now:
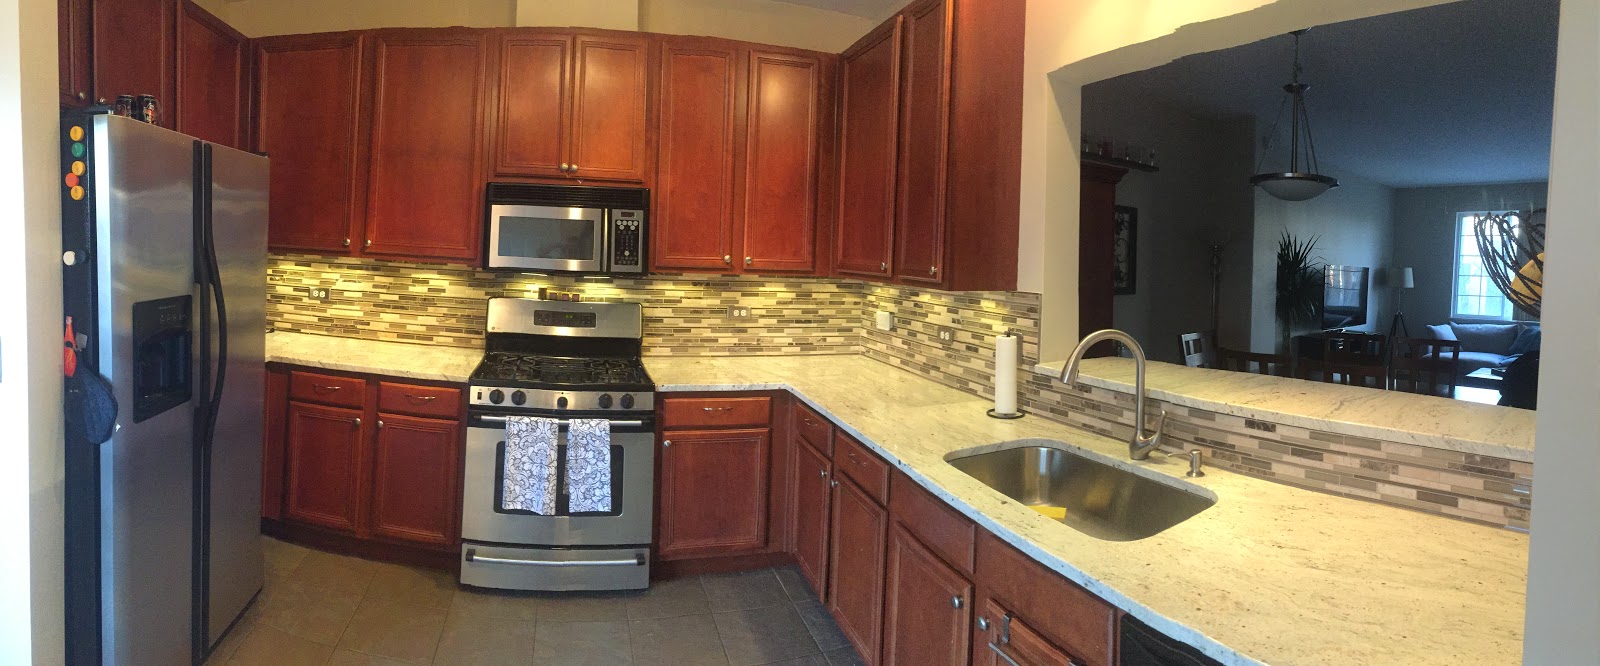 |
| River white granite, stainless steel appliances, cherry cabinets, mosaic tile back splash and slate floors |
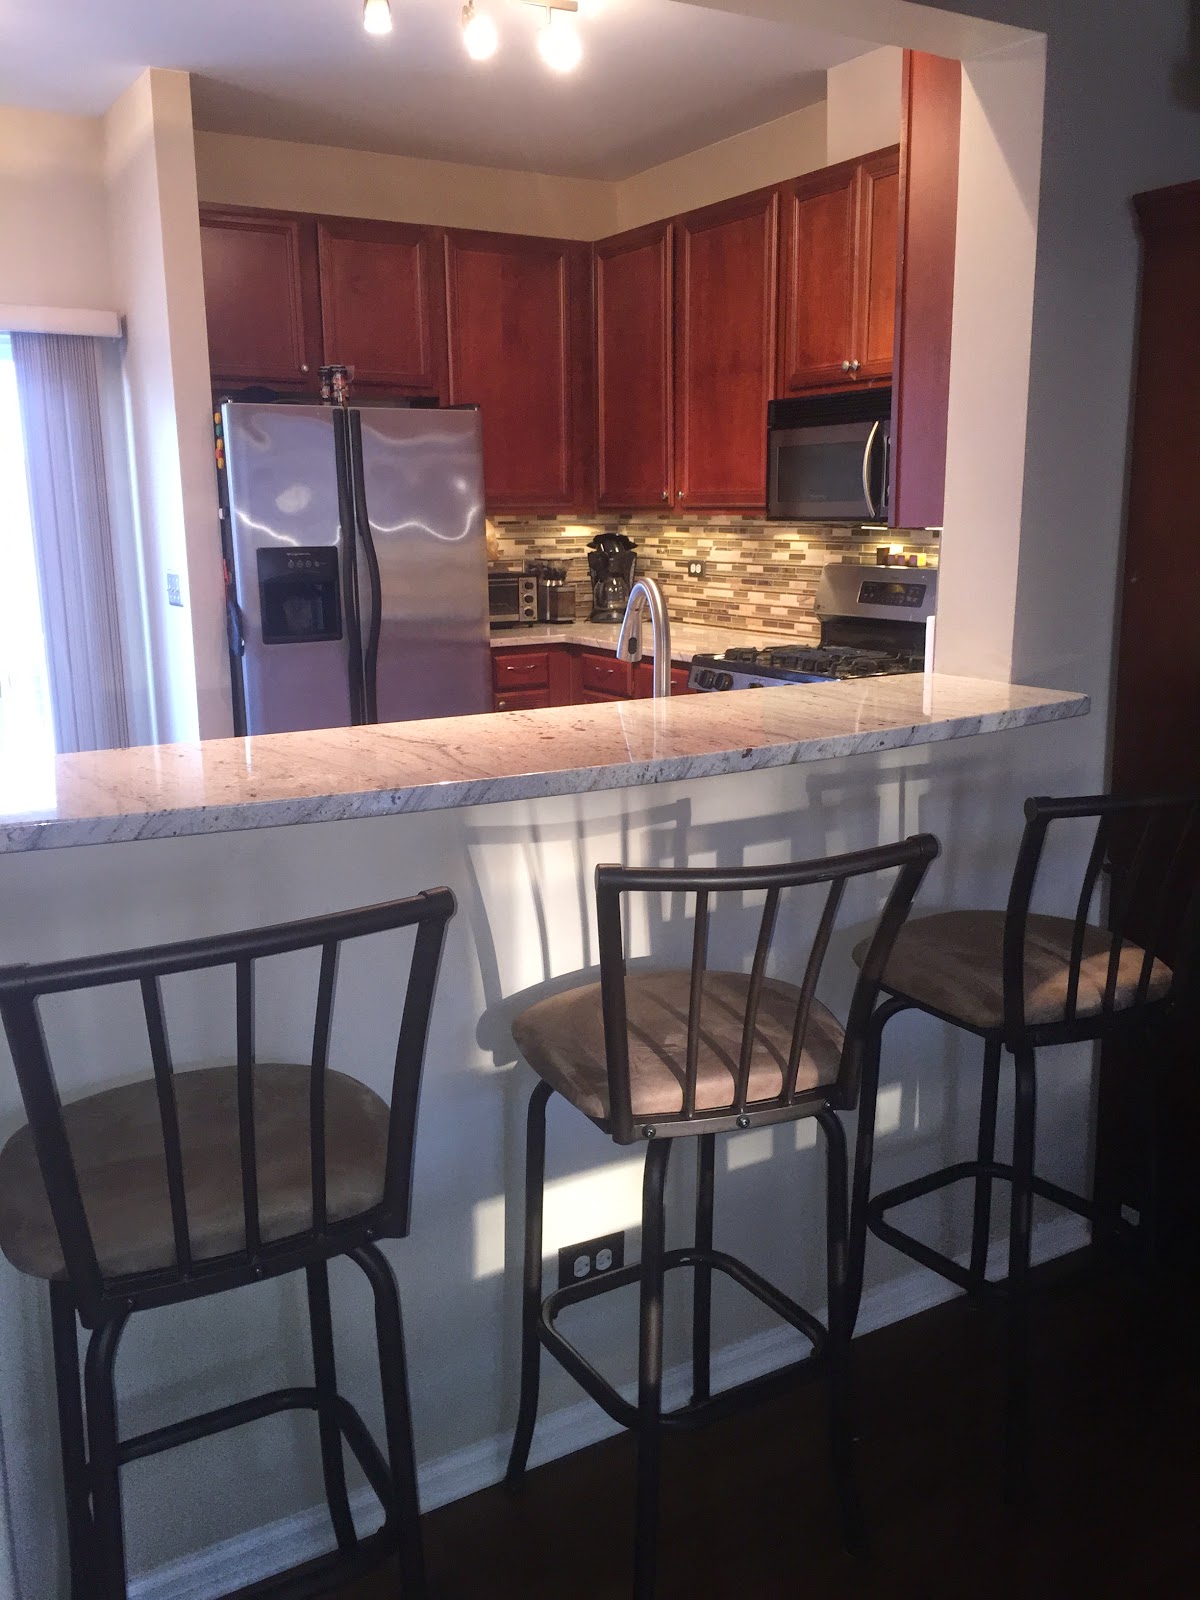 |
| River white breakfast bar |
It all started with removing the counter tops, painting the walls back to beige and re-routing the plumbing from two sinks to a single basin:
Because I added a breakfast bar, new brackets had to be fitting flush into the existing half wall to support the weight of the new granite.
The counters came in one afternoon and immediately made a difference and brightened the whole place up.
Next up, I had to make a choice on tiles. These mosaic sheets came from Costco, which had them on sale for $25 per box. Each box contained 5 one-square-foot tile sheets and was available in two colors. I ended up going with the brown of the two, and needed eight boxes.
 |
| Brown is on the right, but the difference is miniscule |
Then I had to select grout color (Haystack, in case you're curious), purchase a bunch of supplies and rent a tile saw.
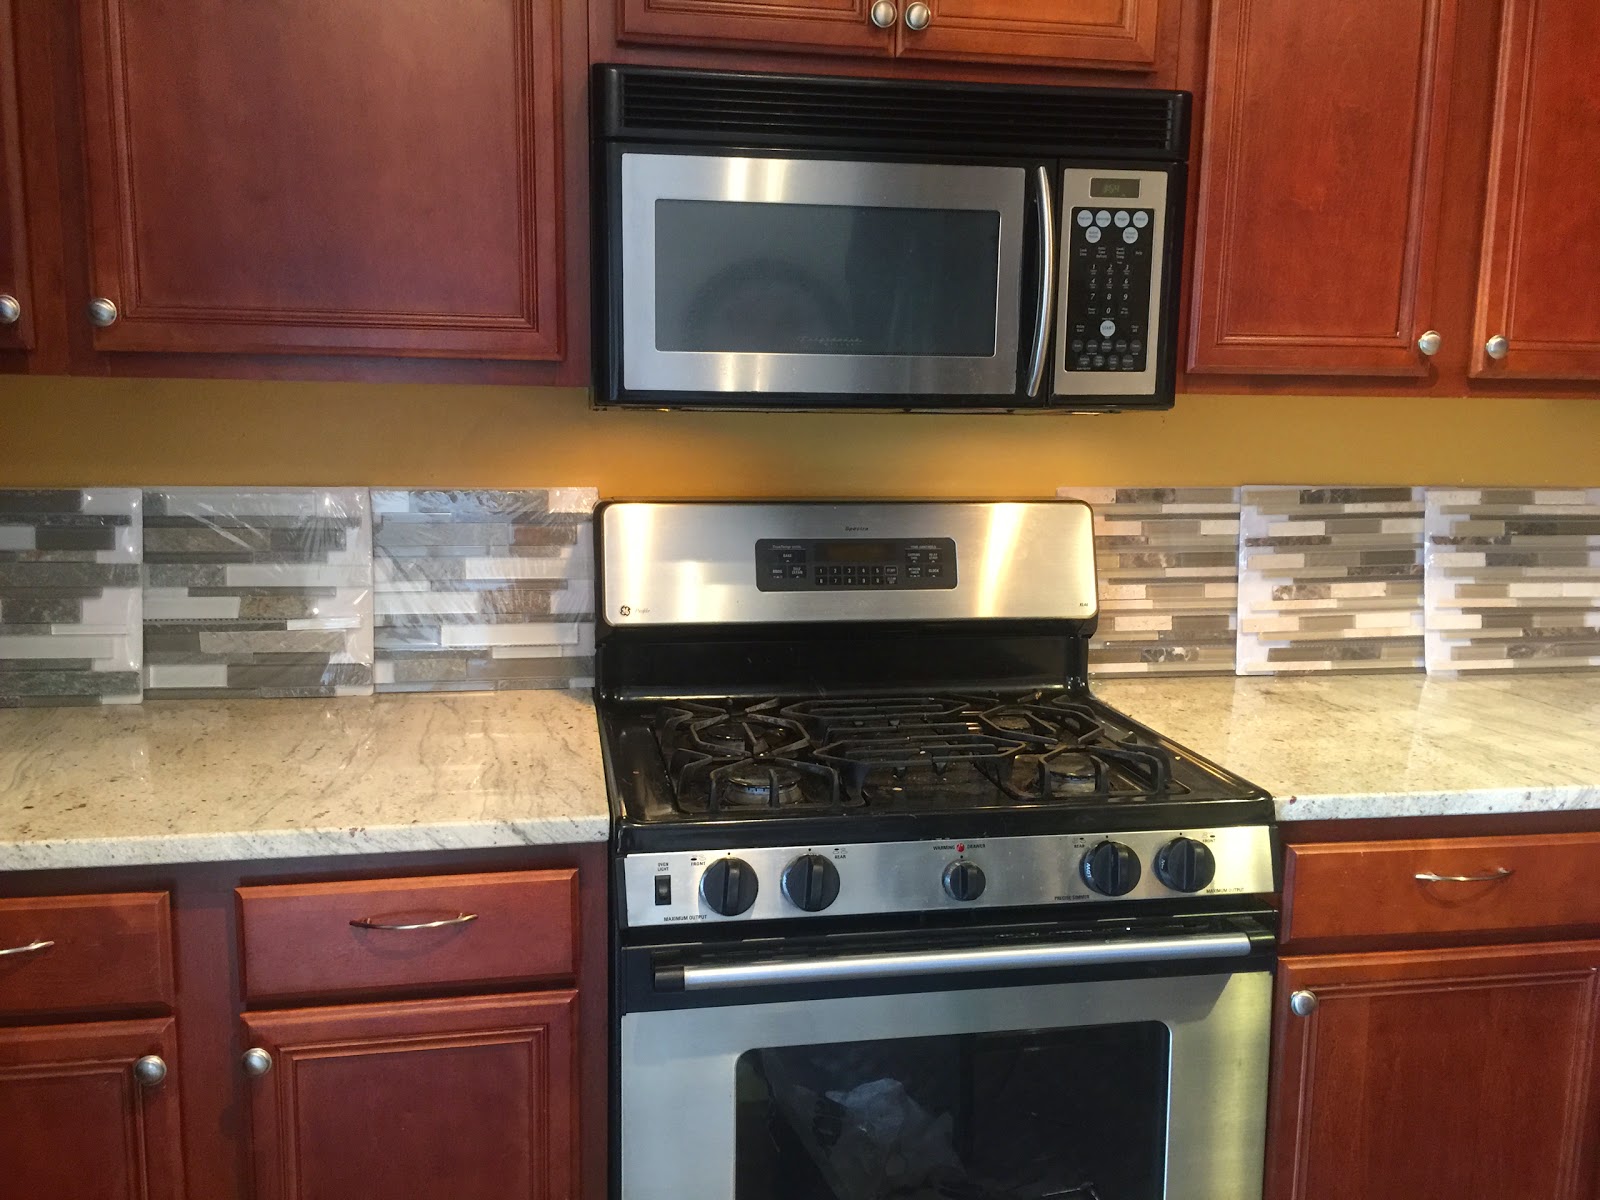
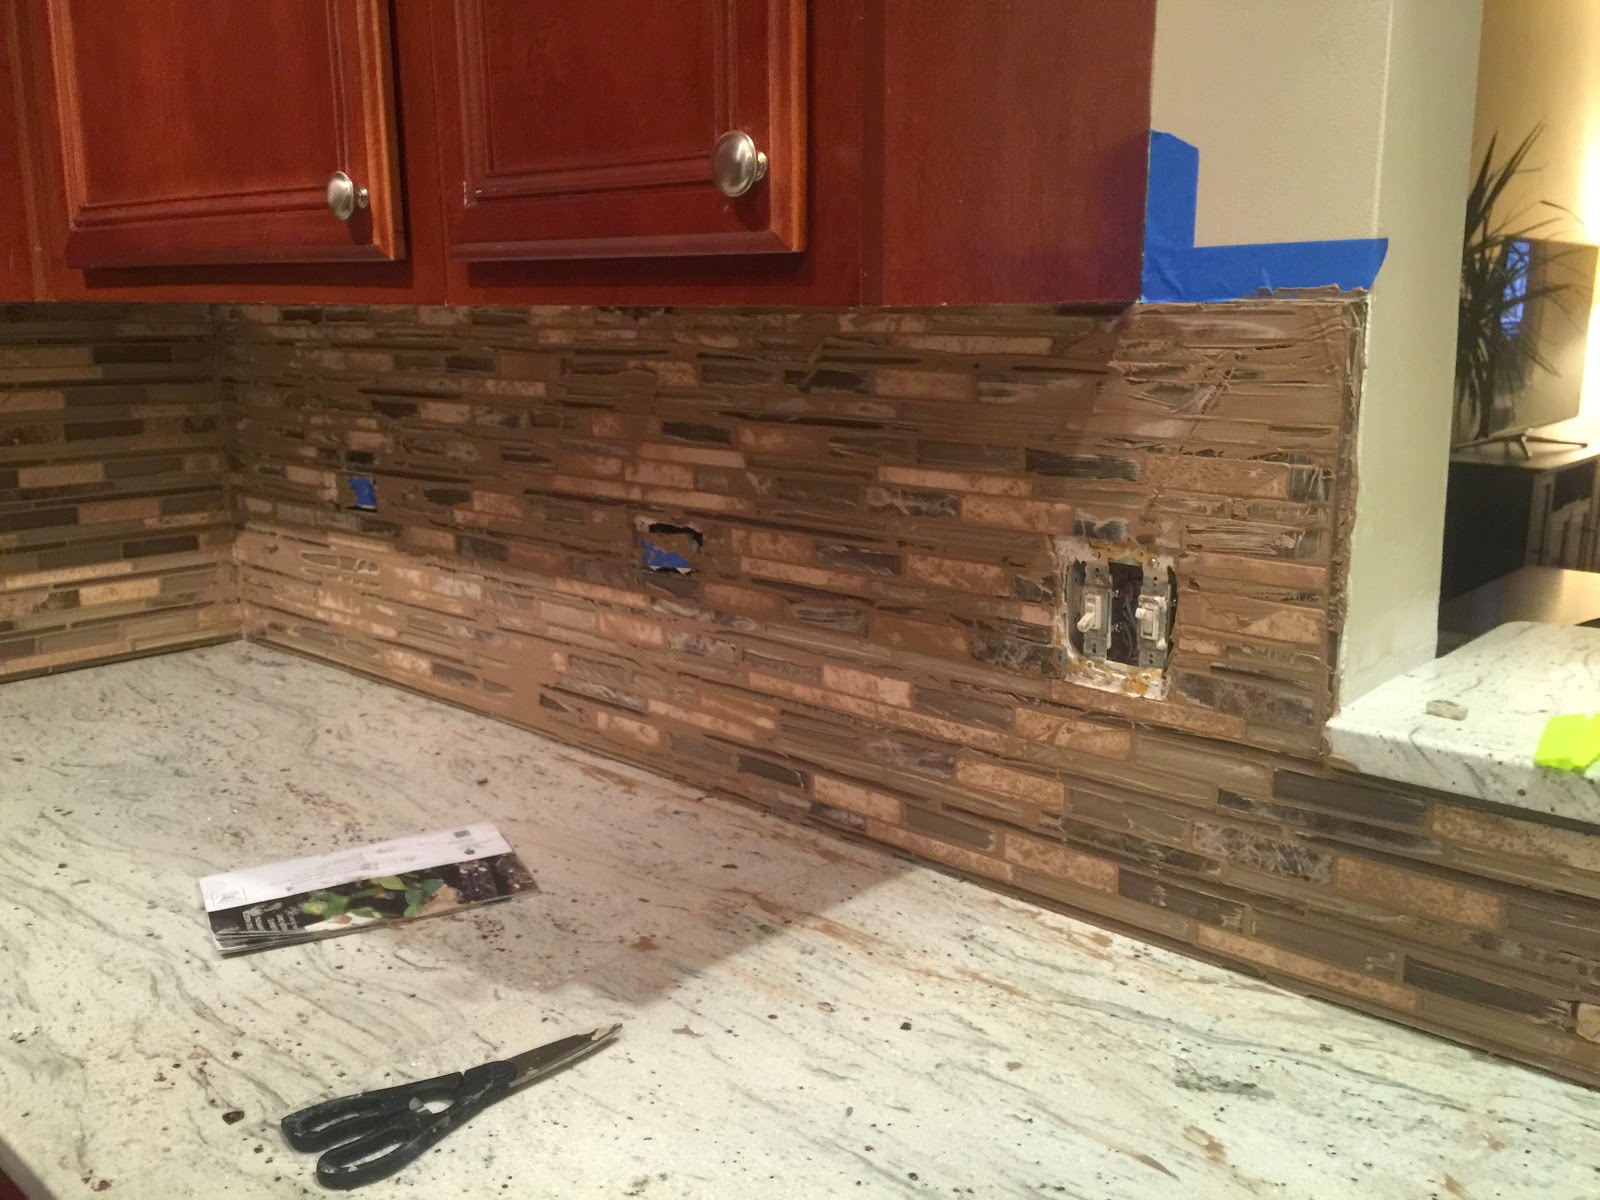
It took six hours of nonstop work to put in the back splash. It was pretty simple once I got going, but piecing together the cut outs for the outlets was super time consuming.
The grout was a complete messy disaster. That took me another two or three hours of work to get it up onto the walls, then it was a solid week of cleaning up, wiping and touching up before sealing it.
 |
| Mid-grout mess |
Next were the undercabinet lights. These are LED strips from Amazon that have a dimmer switch. They give off very little heat and can stay on all the time as a nightlight.
The cords had to be bundled and tucked up under the counters before the final step of extending the outlets so the outlet covers would sit flush on the tile.
And a few progress shots:

Ta-da!


15 comments:
Whoa! Nice!
I still love it. Now looking at the old pictures, it looks so out dated compared to the reno!
I love it!! Did you do it yourself? I see you working on the backsplash... Anyway, it looks wonderful. Enjoy!!
I had a lot of help but it was a DIY project. I paid for the counter top install but the plumbing, electrical, removal and tiling was all YouTube.
Looks fantastic! Love the counters. Teach me your tiling secrets!
This video taught me everything I needed to know about tiling a backsplash:
https://www.youtube.com/watch?v=v6Ng9f2ucU4
we have been thinking about redoing our kitchen and this is almost exactly what I want! definitely bookmarking this for future reference.
Looks awesome. i am in the mood for a backsplash renovation.. thanks for hte motivation!
Nice!!
I'm super impressed! It looks amazing!
wow your original looks SO much better than what I originally bought mine..and yet I still don't have the funds for mine. Another friend of mine redid her kitchen with tile from Costco. I am assuming you got a membership again?
Luv, luv, luv!!! That backsplash.... so awesome :)
Super impressive, lady! It looks so great- much more modern and clean! Love it!
Wow. You're a pretty BAMF for doing most of this yourself - I'm so impressed and it looks awesome.
Wow, great job! And even more impressed you did it all yourself. I would have hired someone to do it for me.
Post a Comment